 Always tasteful, a French door is an excellent way to open up a room and bring light into a living space. Following are the simple steps for installing one yourself. Best of luck.
1. Removal
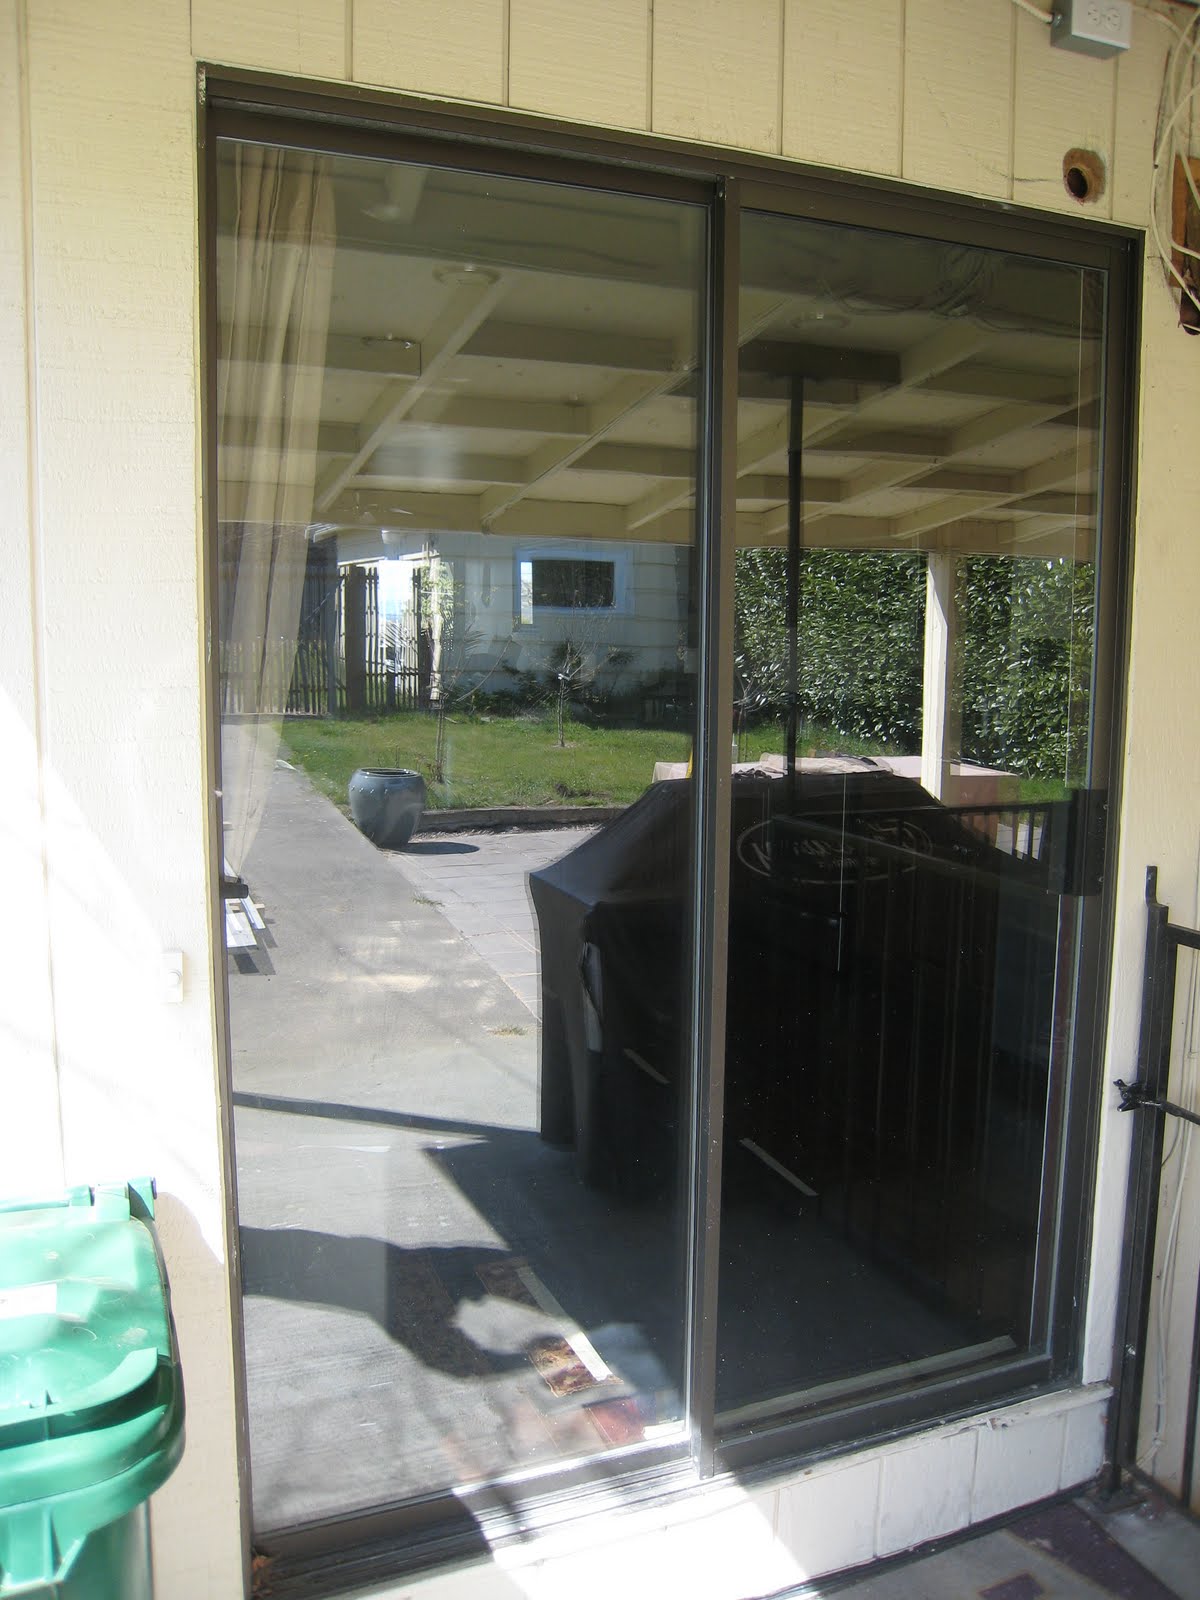 The first step in replacing an old slider door with a new French door, is the removal of the old door.
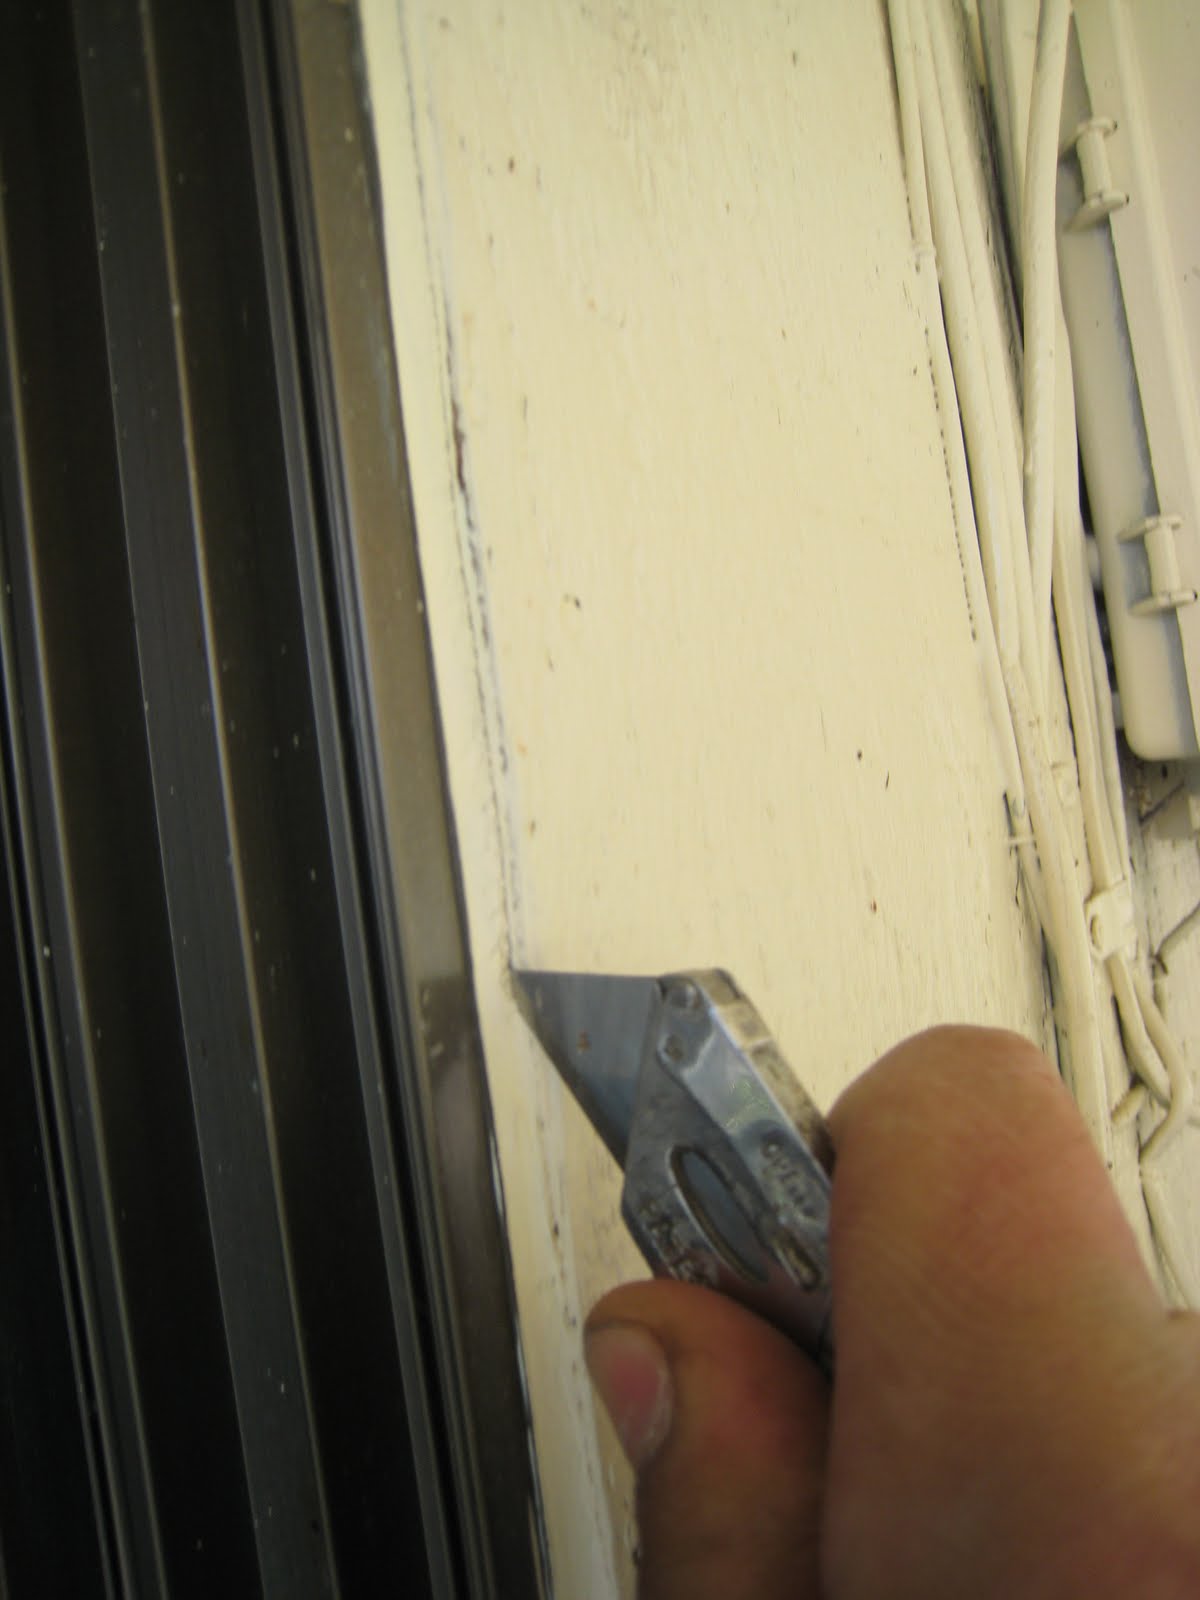
To start off, make sure to go around the existing door and make a cut on all places where trim meets trim, or trim meets a wall. "Scoring" the caulk prior to prying makes your life a lot easier and prevents potential tears on the exterior face of the sheet rock.
 Following, use a chisel or finish pry-bar to remover the existing trim. Until otherwise known, always carefully pull the trim off, by having more than one point on which pressure is being asserted. Having multiple points of leverage prevents the trim from ripping or breaking. Set the trim aside and focus on the frame.
To remove the existing frame of the door:
Lift th
 e slider part of the door until the bottom pops off the guiding track. Properly dispose of the track and turn your attention to the frame itself. Follow the frame around, unscrewing or pulling any nails that might have been used to secure the frame.
On older installations, screws may have been used
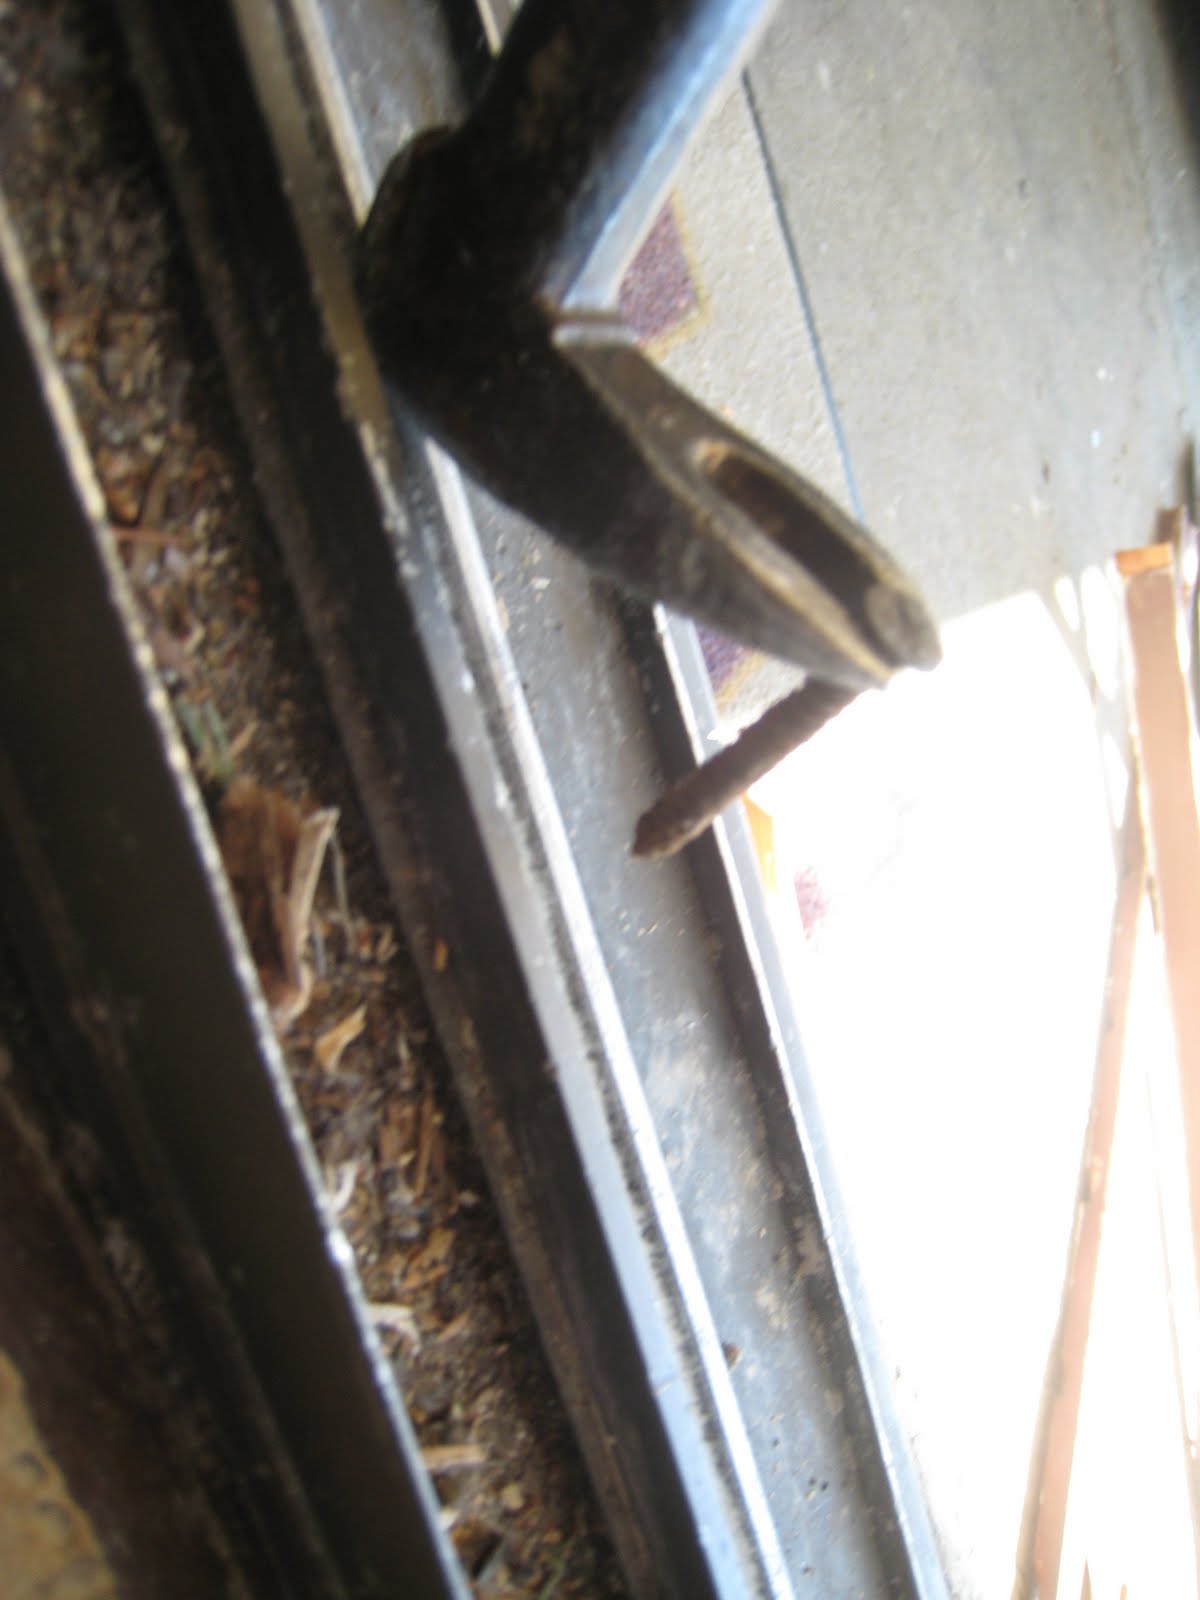 at the bottom of the frame, exposing them to direct water and rusting them. A "cat's paw" nail extractor is an excellent tool to remove these stubborn fasteners.
 Lastly, a once over with a "sawz-all" (reciprocating saw) is a good move. The saw will cut trough old and weather caulk as well as any nails you might have missed.
2. Repair
 Once the old door has been removed, you want to sink or remove any old nails., Clean up opening and measure the opening both vertically and horizontally (both sides and at top and bottom). Compare your measurements, by physically measuring, with those of the French Doors.
 Allow for on inch at top and on one side for clearance and shimming. If the measurements do not line up, you will have to extend the opening by breaking into the wall and taking out the trimmer stud (jack stud) or even by having to slide the king stud over.
 If this is the case, the header will have to be replaced and the amount of labor and materials will significantly go up. The moral being: measure and remeasure prior to purchasing your new French door
3. Prepping the new door
 Inspect your new frame for any defects or damage that might have been done during shipping. French Doors are built and shipped to be square (meaning that they follow standardized trigonometric rules), so measure diagonally from one corner to the other, then repeat the process on the opposite side, if the measurements are not the same, measure the one side and the bottom and find the hypotenuse. Now using the top and opposite side, find the the hypotenuse for the opposite side. If the measurements do not match, the door is not squared and that will present some bigger problems down the line, or you might even have to return the door if the variance is severe. This brings me up to my next point: Always plan ahead. Asses, measure and double check prior to every step of execution. Having to backtrack wastes time and money and could translate to damage to your door and shoddy looking work.
 If the diagonals line up, you are ready to proceed.
Use a ham
 mer to knock out the shipping braces. There is one on each corner of the door and one at the bottom, bellow the sill.
4. Prepping the opening
This is perhaps the most important part of the entire process. Properly installing the tacky flashing will save you hundreds of dollars, worth of water damage, in the long run.
Note: Sticky, or tacky, flashing is extremely difficult to work with in large sections. It has a tendency to stick to itself and not coming undone. Therefore, pull off only as much backing as you can work with at a time during application.
 In general, the rule of thumb is to work your way up as you over lay on top of the previous layer. Start off on the bottom by overlapping roughly 50% of the flashing over the edge. Cut the strip about 8 inches longer than the opening. When laying the tacky flashing down, work your way down from one side to the other. When you get to the edge, make an incision where the trimer stud meets the flooring. Allow the bottom piece to "run wild" and cut the excess where the trimmer meets the floor.
 After finishing the floor, cut two smaller pieces(6-8in) and over lap at the edges. Covering the incision from the previous step.
 Then, measure from the floor to the header (top of opening) and cut two pieces to that length. If you run out of one role, overlap by 4-6 inches and continue on. When laying the tacky flashing on the sides, split equally (lengthwise) with half inside the framing and the other half on the exterior. Work your way up from the bottom to the top.
 When you get to the top, make an incision and fold onto the header.
 measure from one side to another of the opening and cut a piece to size. Split the flashing with half in and half out. After setting the top, cut two smaller pieces(6-8in) and set on the top corners. These last two pieces do not get cut, but folded onto the inside of the frame.
 Finally it is a great idea to have a door pan built and installed under your French door. It provides an extra barrier against water. It also provides a way for water to get out in case it does get into the sill of the French door. At 45 dollars, this is a great deal and a smart investment.
To set the pan in, squirt two substantial beads of clear silicone from one side of the opening to the other (on top of the tacky flashing), and go up the sides about 4 inches, or the height of the pan.
5. Installing the door
Setting the frame in.
 Prior to sliding your French door in, you want to run a few beads of caulking from one side of the pan to the other, making sure to carry the bead to the top of the pan. In general, a continuous bead at the front, one at the middle and one at the lip is sufficient. After this, you want to level the base of the French door (which is rigid) by using shims. This step insures a consistent amount of clearance on the sides of the doors. NEVER nail the shims in, simply let them rest, the silicone into place by sealing the space between the door seal and the pan.
 Next you want to work one side at a time. Plump the frame to ensure that the door will not swing open or close on its own. Use Shims to add pressure to the frame and keep it from sliding.
 Now work your way down or up, but remain consistent (bottom up is generally easier). Add shims behind door jamb/frame and plumb. As a general recommendation: These doors tend to be heavier than normal, they also tend to be at an entrance point, thus I recommend using 3 and 1/2 in. screws as opposed to nails. They can take more of a beating and leave less of a mark when installing.
Once plumbed, pre-drill behind the weatherstripping and install a screw securing the door-frame to the trimmer stud. Repeat process on your way up.
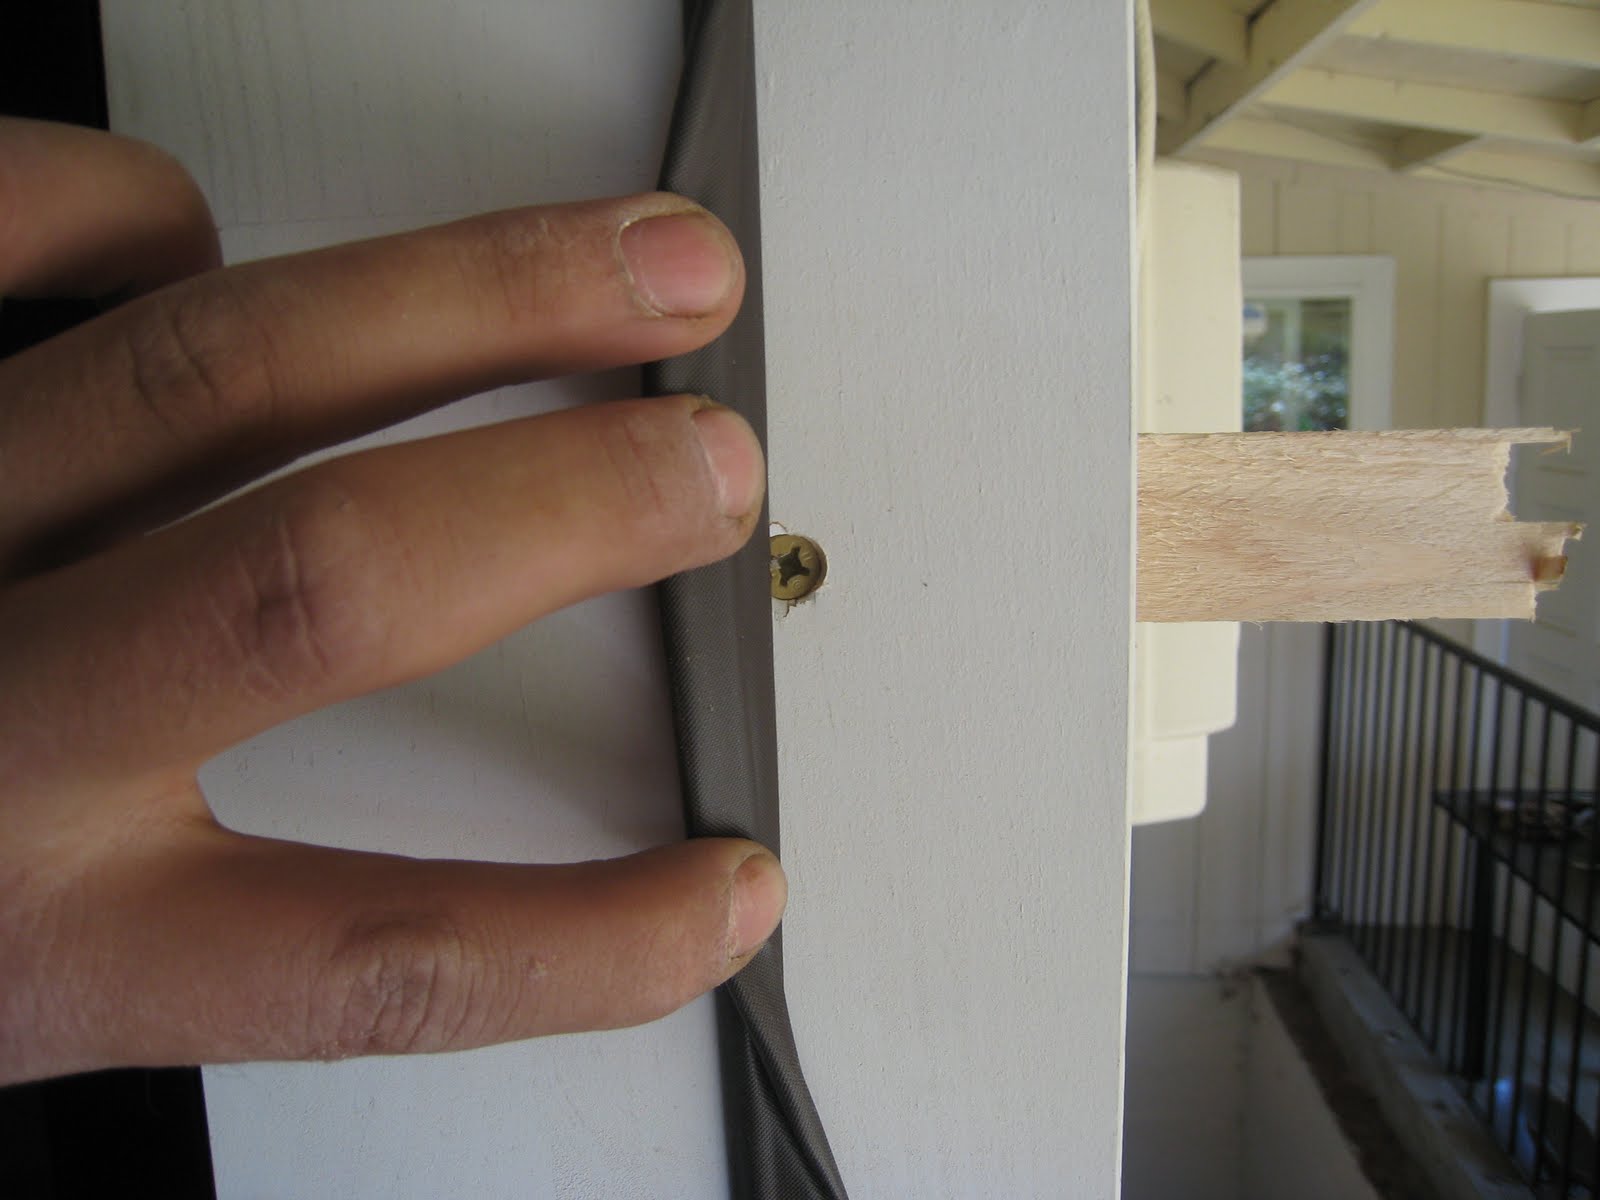
ALWAYS pre-drill prior to putting a screw through wood. It ensures that the frame does not split. Make sure to also land your screws on top of the shims, it ensure that the shims wont slide out of place someday.
 Finally, once both sides have been finished, go through and cut off the excess shim protruding out of the door frame. Score one or both sides of the shim then fold over, the shim will snap with a pleasant pop.
Installing the doors

 Now, most of us do not have a helper waiting around to do our bidding, thus we have to improvise. By sliding a shim or two underneath the door, you give yourself enough clearance to line up the holes on the frame with the hinges on the door. The shims will save your sanity.
 Secure all the screw, but make sure you do not over torque. If you do, you strip out the surface are that the screw has to grip onto and that is a mess you want to avoid. Therefore, you may use a screw gun to make your life easier, but always finish off by hand. Once both doors have been set, you can worry about the details. But first take a deep breath, you just installed a French door.
 Once the doors are installed, close the door with the reinforced striking plates. At the bottom and at the top there are two sliding pegs that secure the door to the frame--These pegs allow the door with the door handle to latch onto something solid.
Mark t
 he position of the pegs and drill a whole slightly larger than the size of the peg. At the top, mark where the cover plate is going to go and use a chisel to score the edges of the plate, then to remove wood in order to recess the plate. As usual pre-drill the holes for the plate and install using a hand screwdriver.
Final touches

 Once the hardware has been installed, the last thing that you want to is to run another strip of tacky flashing on each side and at the top. Make sure to attach no more than one quarter of an inch of the flashing to the door frame, otherwise it will show when you install the exterior trim. This last layer provides more protection against water and wind.
 Finally you want to seal the door frame to the opening by using expanding insulation foam and caulk. Once all sides are filled, you can consider yourself done. Case inside and out and you have a beautiful new feature of your home.

----------+++------------+++------------+++------------+++-------------+++-------------+++------
No comments:
Post a Comment