Two of the most fundamental, yet somewhat advanced, techniques that every carpenter should know how to perform, are those of Coping and Returning. When it comes to trim, these techniques serve to add an air of sophistication, while imparting a feeling of completeness to the project . Following is a simple tutorial to give you some direction as to what to look for as a customer, and what to do as a student of carpentry.
First off, lets cover some basics: the saw, and basic room layout.
The Coping Saw
Coping saws are a wonderful tool in that due to their light weight,
 with its thin, flexible blade, the saw allows the carpenter to get into wood from virtually any angle, and allows for dramatic changes in direction while cutting.
The Layout
 As the illustration on the right shows, pre-planning your cuts can save you time and money in materials. As a general rule of thumb, you want the coping cuts to be, if possible, parallel to the line of sight. This ensures a neat, clean and professional looking trim line every time.
As you will also note from the drawing, there are two components to laying base or crown trim: the coping cut, and the mitered cut. We will cover these two parts in greater detail later on the posting. For now, the most important thing to get is the importance of "measure[ing] twice and cut[ting] once". Thus, it is a good idea to keep a notebook handy as you write your measurements for the lengths, but remember to always cut what will ultimately be a mitered corner a bit longer to give yourself some room for error.
Coping cuts
 As you will note from the image on the right, a coping cut, ran against a butted piece can give you a seamless internal corner. This is of particular importance when the molding is of higher grade wood and will be stained, since all mistakes made by the carpenter will be more pronounced.
 The basic lay out is as follows. First cut the a complete piece that will go on the wall directly opposite of the main entry point. Cut this piece to length and with butt-cuts on both ends. Once installed, pick a direction you want to work in and work your way around the room.
The Cut
 First off, set your mitering, or compound mitering saw(CMS), to the standard mitering value of Zero degrees (the mitering part of a CMS is the deck part of the saw, upon which you rest your material). Once properly calibrated, adjust the bevel arm of the saw to 45 degrees (the bevel part of the saw is what allows a CMS to tilt to one or both sides). Once there, cut your trim so that the long point of the cut is in the direction of the trim (on the unfinished side) that it will be butted-up against.
 Once you make the angled cut, use you coping saw to cut into the trim in a direction opposite of the exposed wood grain. When cutting, leave the face of the trim untouched, as it will be the part that is exposed after installation.
 After th
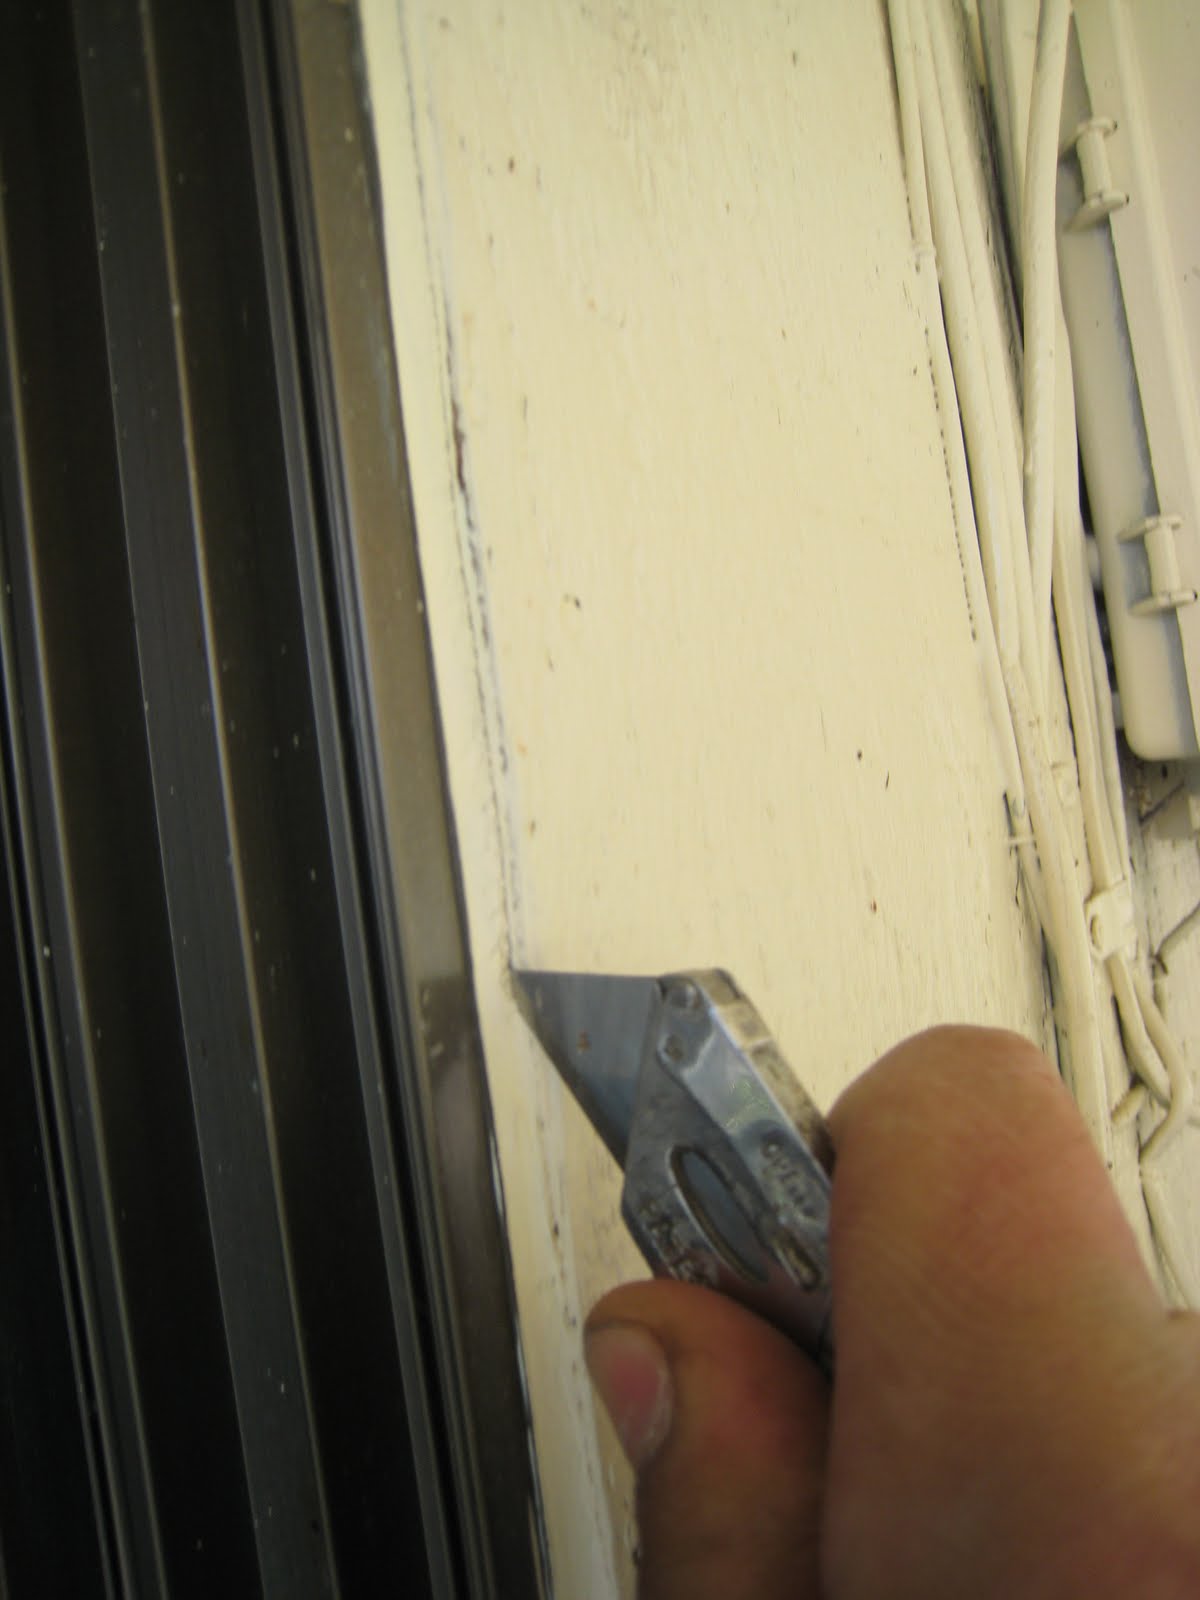
 e cut has been made using the coping saw, use a utility blade to clean up the cut.
Now, if the coped trim will be a run that eventually meets an interior corner
 , measure your distances from the new edge of the coped cut, and cut the piece to length. If the run will eventually be an exterior corner (mitered corner), butt the piece against the existing piece of trim (remember that you are working your way through the room in one direction) and mark the run along the back edge at the the outside corner. Once marked, use a square to trace a clean line at the furthest out-most point of the mark (this ensures that you will not have a piece that fits at the top, but is short at the bottom). Now simply make your cut at 45 degrees, ensuring that the line you drew on the back of the trim, is now the short point of your angle.
Repeat the process of marking and cutting every time you work with
 mitered corners. As a rule of thumb, always glue the outside corners and allow to dry, while being held together with making tape, for a few minutes prior to installation. A nice alternative to this is using a micro-nailer (a 32-gauge pneumatic nail gun) which holds the pieces together while they dry and allows you to install the trim right away ( note that a micro-nailer are usually upwards of 300 dollars, so patience quickly pays off).
The Return
 The return, for all its simplicity, is what tells you you are working with professional, as opposed to an amateur. The Return is the finishing part of the whole, that is the pattern laid out, and logically followed by the eye, of the trim. It cements a series of boards, into an architectural and decorative element for every house. There are many variations on this detail, but the technique is essentially the same.
The Cut
 Lay your trim (in this case it is base trim) flat on the miter table, with the finished side facing up, and adjust your bevel to 45 degrees. Cut in the board, making sure that the short point of the cut lies on the unfinished side of the board.
 Now turn the board around, finished side facing down, and readjust your bevel to 0 degrees. Slide the board, so that the short point of the trim, lines up with the outside edge of the saw blade. Cut through, the piece released is your return.
Finally, simply glue and secure the return with masking tape until dry. Then cut to size, measuring from the return end and cutting to the necessary length. Finally, install as usual.
Extra Information:
for a nice, short and easy break down of the logic and terminology of a miter saw, see:
http://woodworking.about.com/od/machinetools/p/mitersaws.htm